Hey ladies! I didn’t actually know that you really CAN create a “long lasting lip color” or look for the day… I always thought it was a myth that my lip color could last through my coffee or even my car ride to a meeting! HAH! But… alas, it can and Angie of Angela Rodriguez Wedding & Special Event Make Up is here to show you how! Now, I should preface with the fact that I don’t have big “plump and luscious” lips haha. As a matter of fact, if you know me, you know I pick my lips… like a lot… and it’s really bad! So I thought for sure I would not like this lip routine because I would either pick it off, or it just would not look right because I have a small upper lip. Angie totally taught me some awesome tips for those very things!
First, here are the products we used and I’ll let Angie take it form here!
“We all have places to go and things to do, which means we don’t have time to be reapplying lipstick or gloss every 30 minutes. We also want to look and feel goo though, right? Let me help you help yourself and teach you my favorite little tricks for long lasting, supple lips!
You really only need 3 items for this (liner, lipstick, and gloss), but the primer is amazing (makes everything look a bit more smooth and last that much longer), the highlight adds a really beautiful element, and once a week or even once a month this scrub is truly the bees knees.
Okay, ready?
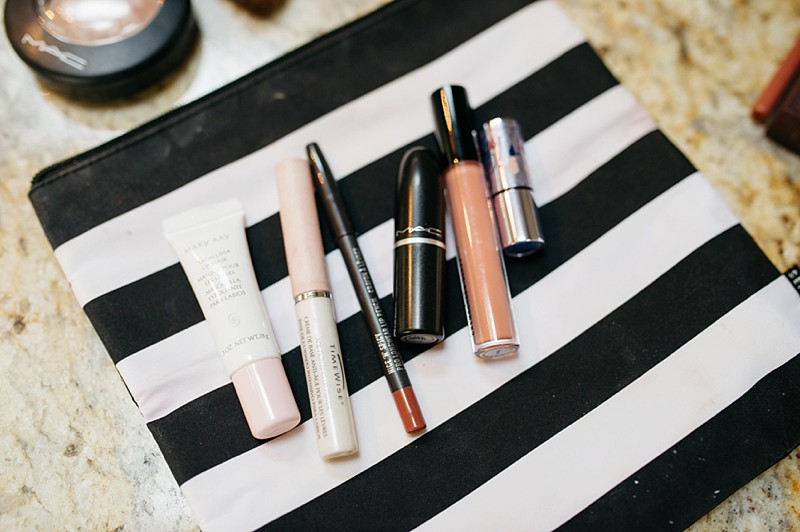
From Tonie: I actually already owned that Mary Kay lip treatment because its just THAT good…. I don’t sell it, and as a matter of fact I don’t even really know many distributors anymore, but go find one and pick it up!
Angie also showed me a few different colors and let me chat about what colors usually work for me and which don’t.
Step #1 – Smooth the Smooch
Use a lip exfoliant to gently scrub any dryness, flaking, or dead skin (ew, but true) off your lips. This will really even out any texture and create the perfect smooth lips to apply product to. (Left photo is the scrub and right is with the smoothing treatment)
Step #2- Prime!
You can prime two ways… either with a bit of setting powder (any lightweight powder will do) or with a lip primer. I LOVE the lip primer from Mary Kay. I don’t sell this, but I’m sure you can find someone in your hood that does via Facebook or of course Google.

Step #3- Highlight! Optional… but you should probably opt because it’s gore! (you can see a tiny bit of this in the right photo below) You can use a powder or cream highlight (Currently loving Benefit’s Watt’s Up OR Mac Soft and Gentle powder highlight), and just trace the cupid’s bow. You will trace the v, and pull up on either side toward the nose. This puts a lot of emphasis on your lips and makes them appear fuller at the same time! Tonie is obsessed.
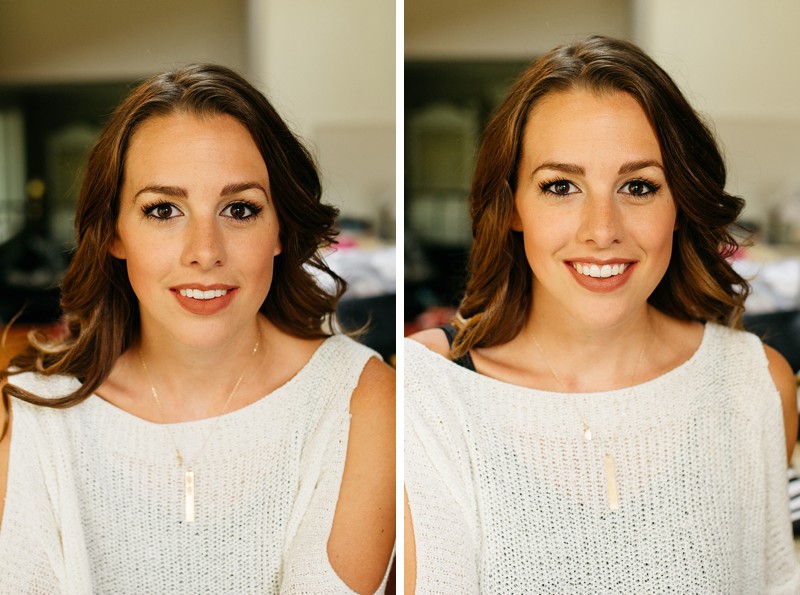
From Tonie: PS that highlighter she mentions, MIGHT be my favorite part! I am for SURE snagging that next time I am at the mall or Sephora as it was super noticeable in person and really made a difference to me!
Step #4- Line Time
Use your favorite lip liner and to both line AND fill in your lips. You don’t want to “overline” too much (going outside your natural lip line). What I did with Tonie is line slightly outside her natural lip line on the top left and right sides starting at the top of her cupid’s bow (little v shape at the top of your lip), and pulling slightly back in as we reached the sides of her mouth. On bottom, I overlined just a bit under her lip, but not on the sides. This makes the bottom lip look very pouty.
Step #5 Lipstick Simple as that. Put some lipstick on. 🙂
Step #6 Optional: Let them shine! (Last Photo Below)
You can totally stop at step #5, but for Tonie I really wanted to add shine as it allows the lips to look even fuller, which is what she was really in search of, particularly for her top lip. Matte lips will always be in style, but gloss is totally making a comeback in 2016 if you haven’t noticed. I love to have a clear gloss on hand to layer with any lip color I am sporting.
That’s it you guys! Super simple and it WORKS! Try it out and tag me in your cute little (or luscious?) lip photos! Find me on Facebook at /MakeupArtistAngela, Instagram @MakeupArtist.Angela, or online at MakeupArtistAngela.com. I can’t wait to meet you! xo”
From Tonie: So, give it a try and see that this look and little routine will totally last for hours on a special outing, your engagement photo shoot or your family photos! Hope you will love it as much as me and don’t forget to tag me in your Instagram Selfies with your beautiful luscious lips! If you want to see more of my Make Up Tutorials, Curling Hair Tutorial and Fashion, visit those links!
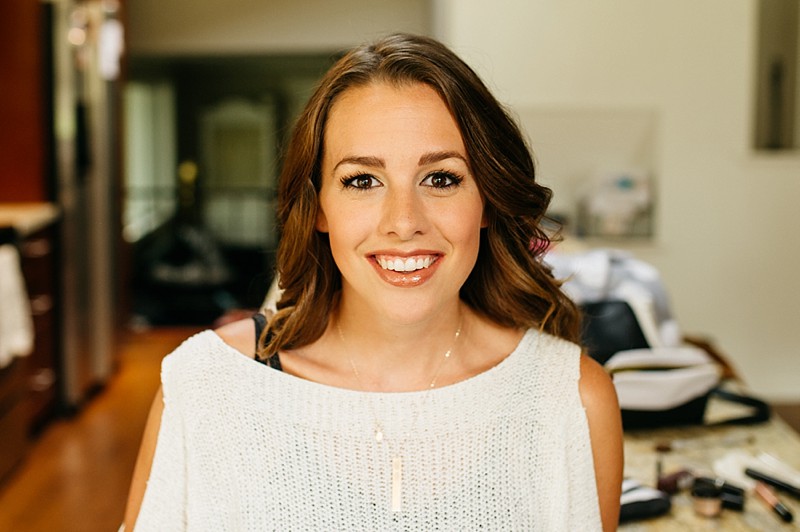 “Lips so Luscious” // Lips Tutorial by Make Up Artist Angela // Seattle Wedding Photographer Tonie Christine
Comments +