
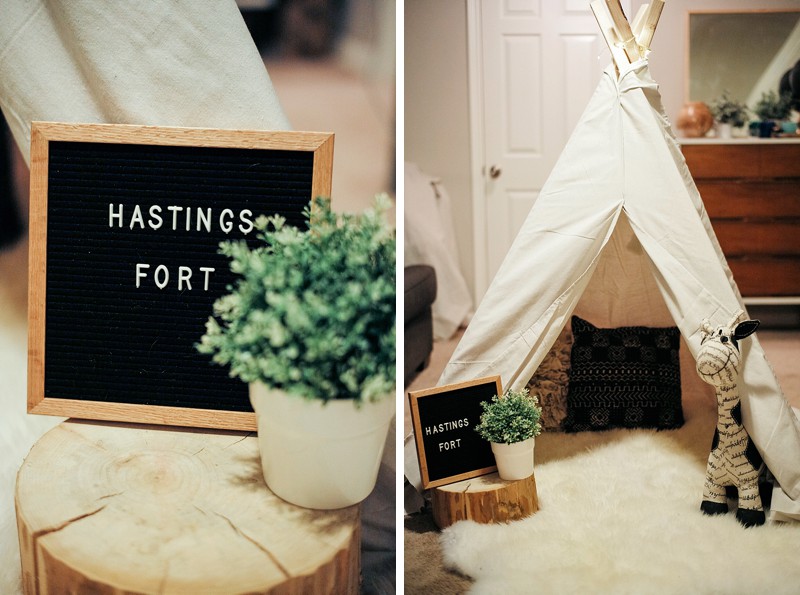
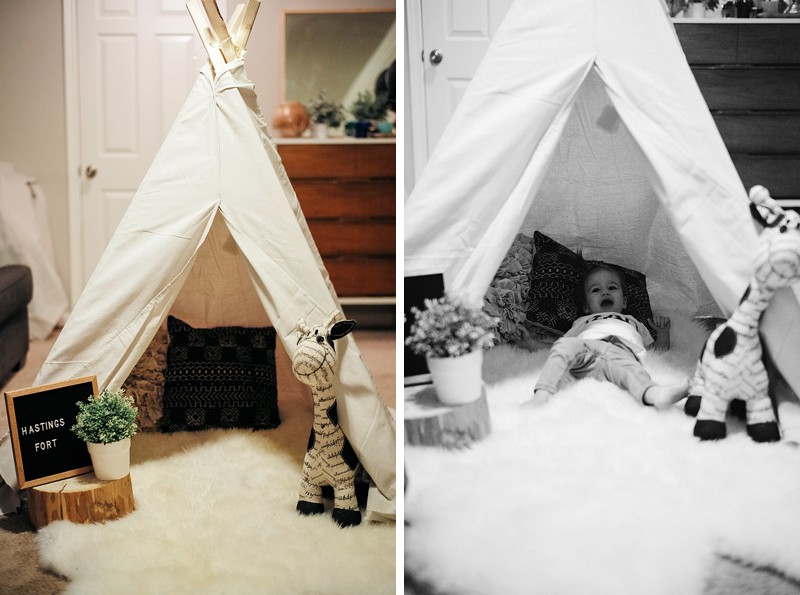
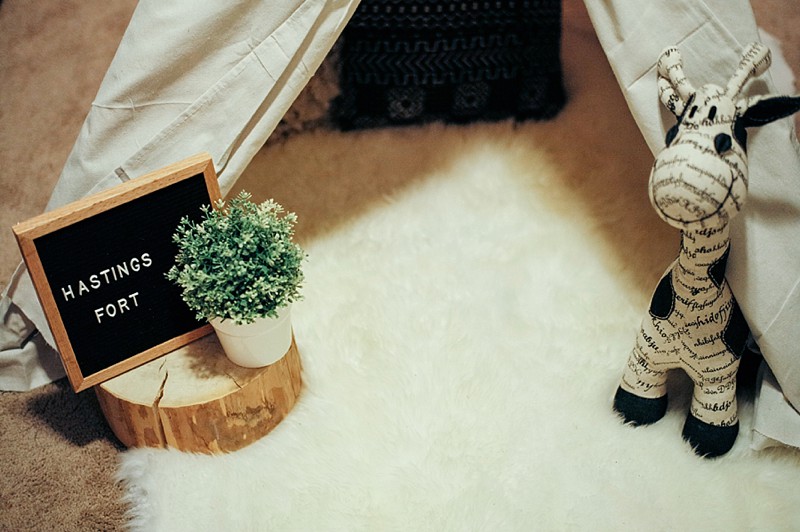
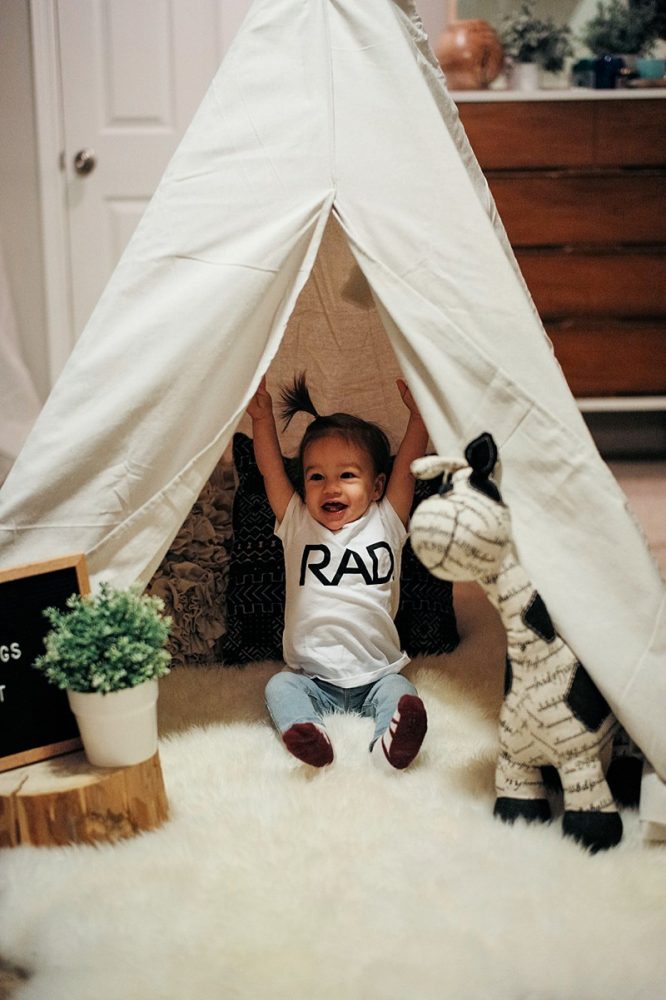
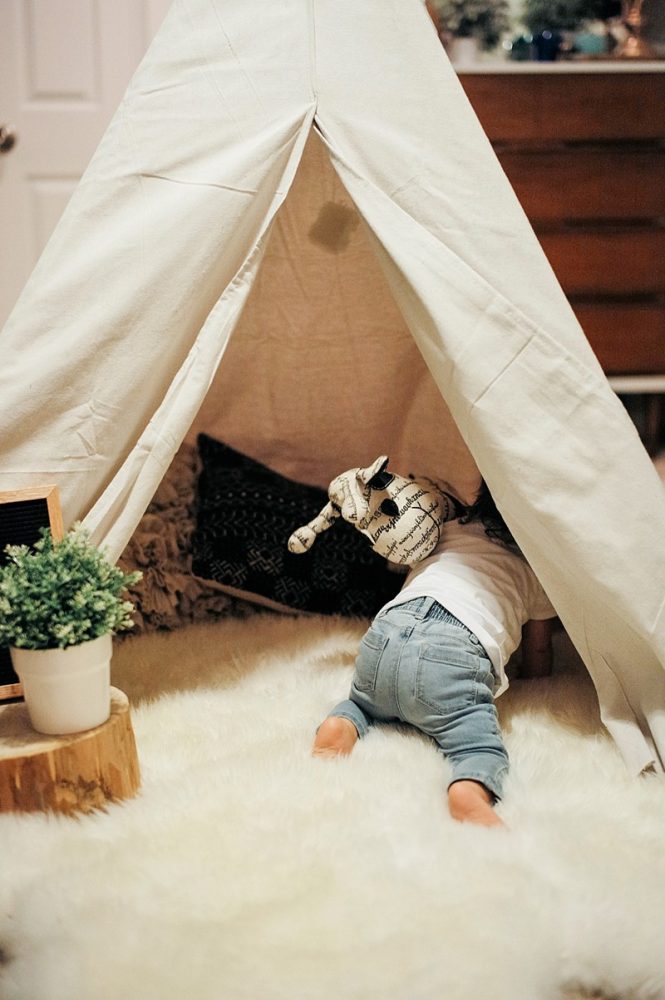
Well, I decided to blog this little tutorial for you all, because 1. All the blogs I personally found to make a DIY No Sew TeePee had MAJOR flaws in them so when I was making it I had to make extra trips to Home Depot! 2.) I am not that crafty and could not break out the sewing machine because I do not know how to thread it! HAH! So, here is the new “Fort” we creating for Hastings for just $35! You can see how much Hasty loved it! 🙂
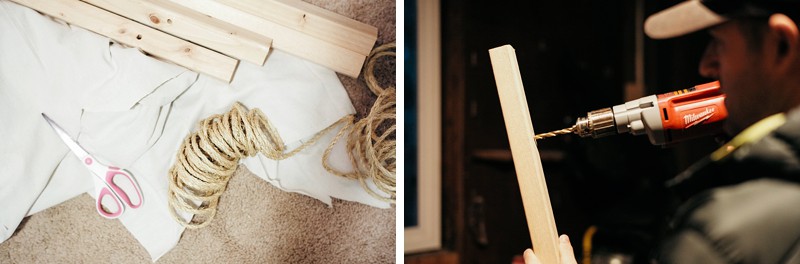
SUPPLIES:
4 “dowels” that we cut to about 5ft
9×12 Drop Cloth (We got a huge one… 30xsomething because we made TWO)
Rope (Just a small roll from home depot)
Scissors
2 safety pins
Hot Glue (Or you can sew it if you are better than me!)
Drill
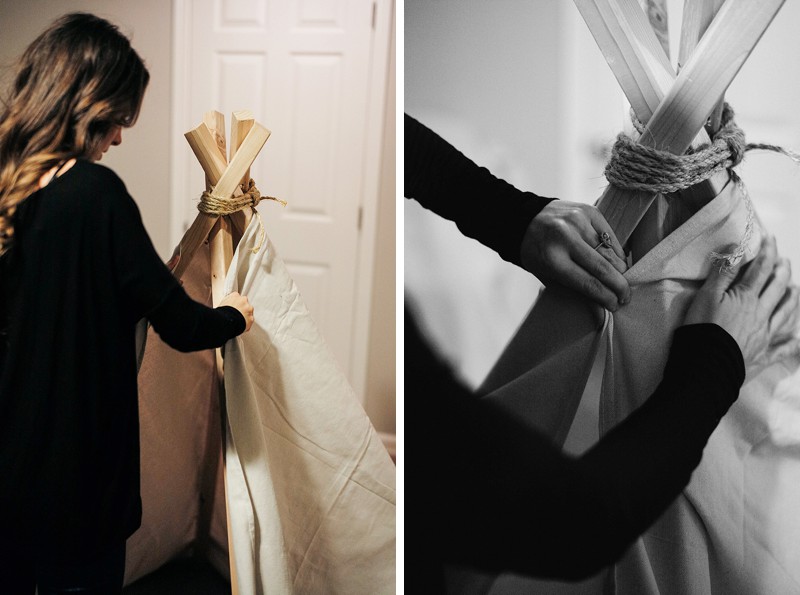
- Drill a hole in the top of the dowels to put the rope through
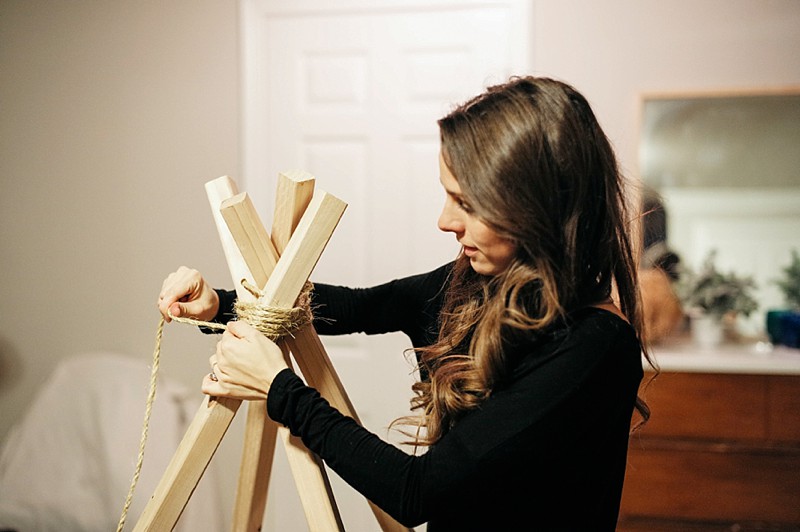
- String the rope through the holes and then stand upright
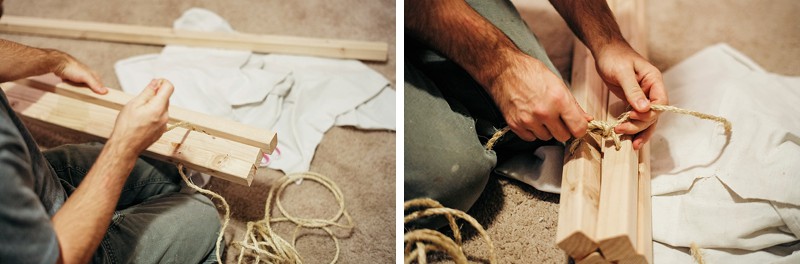
- Wrap the rope around the top as neatly or all criss crossed as you like. Just make sure it’s tight!
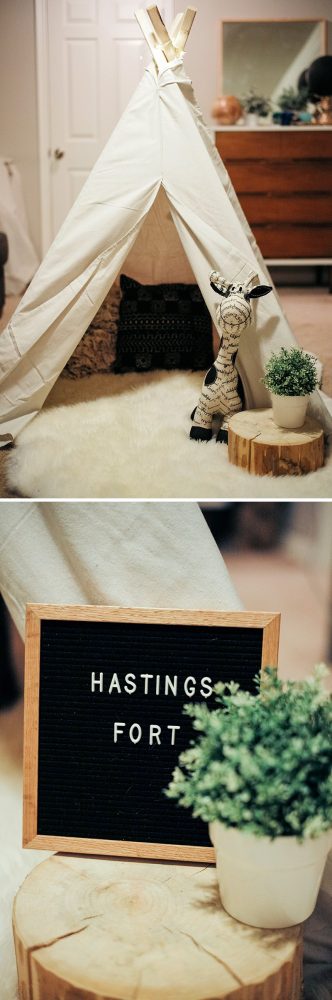
- Drape the drop cloth around it. Don’t worry, there will be lots left at the bottom but just get the look like you want at the top… (Also note, on the first Teepee – We made two, one as a gift to our nieces and nephew– we measured the bottom so that the dowels were evenly spaced from each other before FULLY tying the top off… on the second one, we didn’t do this and it sat a bit lopsided… oh well! Clearly I am no perfectionist!
- Safety pin the top (right image here) and then just hot glue it together as far down as you like. We also added another safety pin at the bottom of the opening
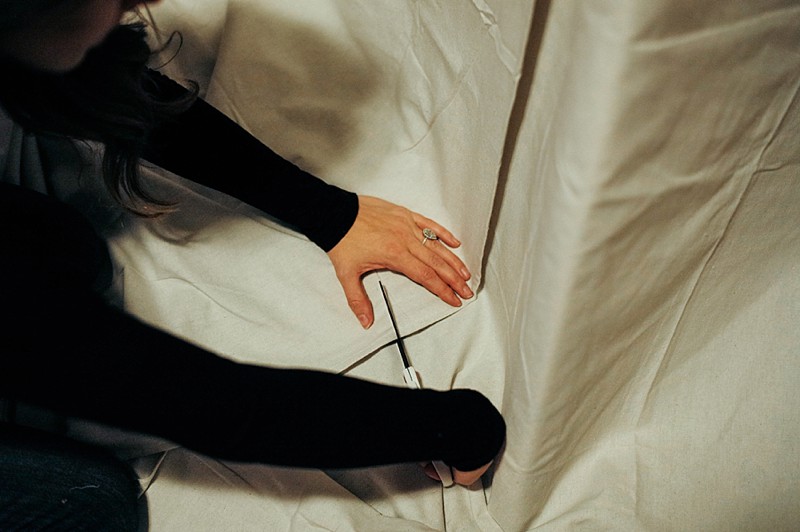
- Pull the fabric around the floor and press it down to the floor. I made sure to cut a couple extra inches as I would rather have it longer than too short.
- And there you have it!!!! Easy Peasy and although it’s not made to last years and years, I am ok with that because honestly, she will out grow it and I am sure be “over it” by next month!
Let me know if you have questions!!! AND if you want to remember this post, pin the second to last image at the bottom!


I love the teepee! It is adorable! I never realized how easy it was to build. I will definitely have to build one for my little one! Thank you for the tutorial!
YAY! I hope it turns out GREAT!